Thursday, 17 September 2020

Teaching Trofimov, or "Turkestan Troubles..." Two.....

 The Battle:

Things open with me (Trofimov) pushing two of my cavalry units (the "White Lances" and the "St. Andrew's lancers" forwards to "feel-out" the situation in the centre, holding the infantry and all the artillery with me. 


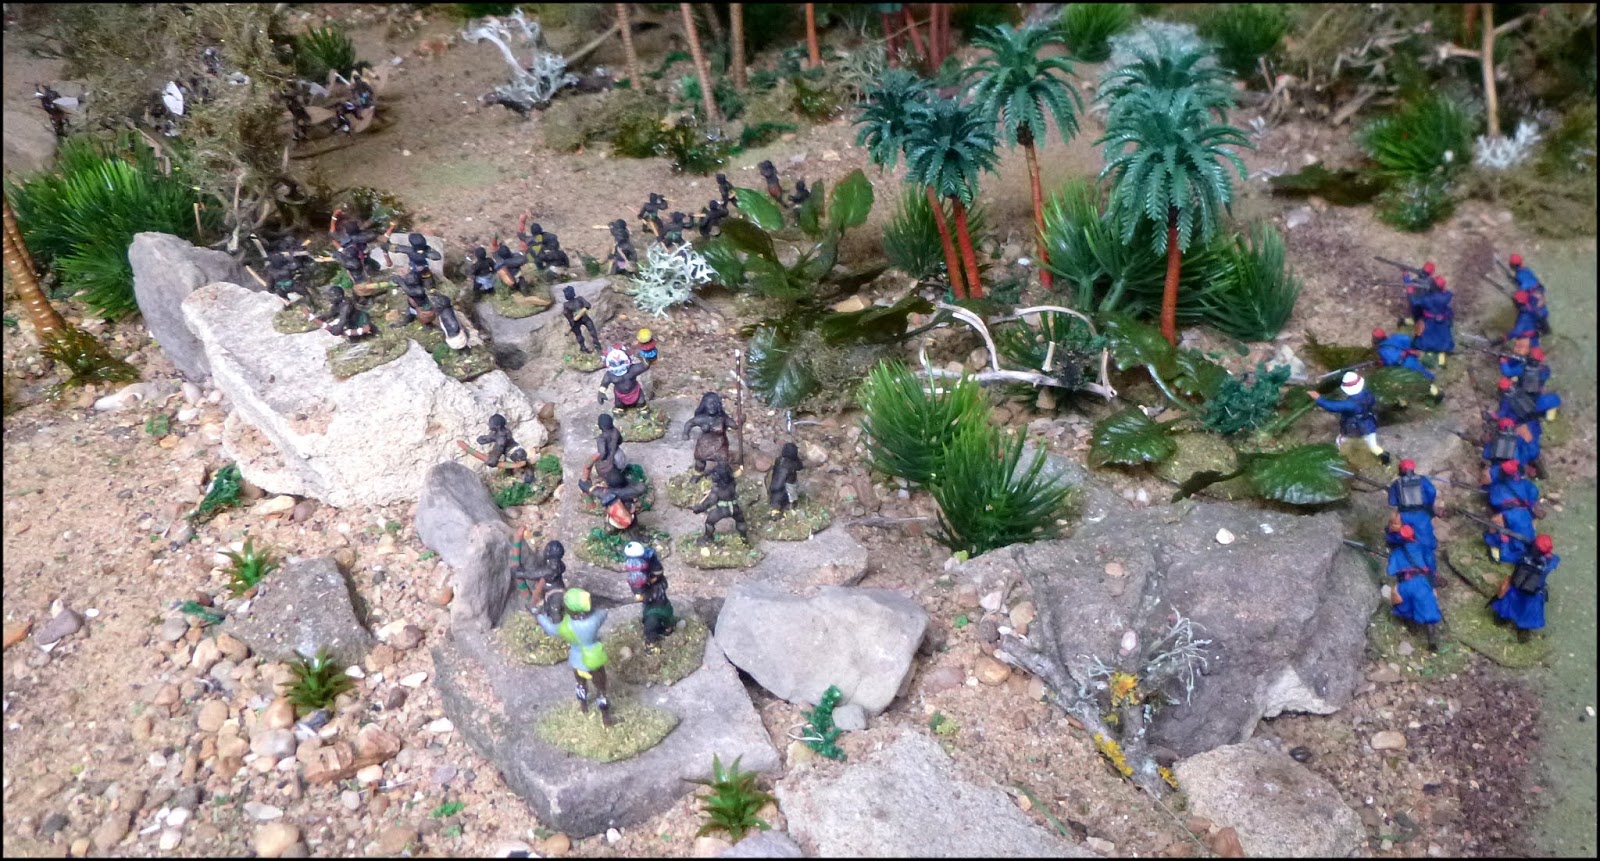
I will also dispatch one cavalry regiment (The Blue Dragoons) to move to the bottom of the map (South), skirt the village and smell out what might be lurking round those parts (as usual, click on the pics to make 'em big). 

Almost immediately the Blue Dragoons come under fire from the walls around the southernmost village (prompted by the Unknown token and a turn of a card) and the White and St. Andrew's lads receive shots from locals in the crags around the tower overlooking the village with the mosque (in the north east part of the table). 


Damage is slight - but I don't want my cavalry shot at unnecessarily..... 

I readjust the position of the main body to partly face the northern enemy and dispatch two units of infantry. One to deal with the southernmost locals (and burn the village). One to climb the northern crags and see off the locals there.


The Emirs sit watching. To the north is the Emir of Backai, with a mixed bag of camelry and cavalry. More southerly is the Emir of Dara Tebel with his horsemen. 

The commander of my Blue Dragoons (quick reaction test) pulls his men back towards the starting line further from the village. He seems shaken by the unexpected shooting. 

As the moves progress my two detached infantry units will have different luck. The southernmost will move to their target, engage in a firefight and destroy their enemies. 


Meanwhile, the northmost infantry commander seem to lack drive. The lads here seem to spend ages clambering up the crags, then, when they get there, lose about five moves in an extended firefight against the very stubborn bunch of locals ensconced in and around the watchtower. Eventually the locals mount their waiting camels and pull back (due to increasing Shock) - only to de-bus again a little further off and start long-range sniping. The tower is taken and burned, but NOT with the bayonet and only after a LOT of time has been lost. This end of the field ends up as a little battle in itself, separate from the activity elsewhere.


Suddenly things change dramatically. One of the Emirs, Dara Tebel, throws his men towards my lancers in a charge. The St. Andrews unit rapidly pulls back to behind the line of infantry. I re-jig the main body to face the threat and my artillery unlimber. But the White lancers aren't quick enough. They are hit head-on by the Emir's bodyguard and, outnumbered and overwhelmed, practically wiped out.


This prompts the other Emir, beyond the crags, to move his men forward too..  

Suddenly it looks I have a significant fight on my hands.  

My southernmost infantry unit moves up to support the main body. My main force, flanks fixed on the northern crags and slopes of the southern heights, with unlimbered artillery and mitrailleuses ready for action, presents a formidable sight.  My whole main force opens fire. The enemy think twice about a headlong charge into THAT, and hover around, indecisive. For a couple of moves the enemy sit there, fixed and taking hits, but not quite getting their bottle up enough to charge home.


I feel confident, reorganise my force and issue new instructions.

The Blues and St. Andrews cavalry are brigaded with one cannon and a mitrailleuse and are (again) dispatched to go round the southern flank of the southernmost heights, with instructions to demonstrate against the enemy's right flank.   

The main body, I decide, will hold position to continue to fix and intimidate the enemy horse. This seems to work.


Meanwhile, up north, the little private battle over the village with the mosque continues as my men meet more resistance. Again, I effectively lose this unit for several moves. Again, despite his superior numbers, the commander here will NOT use the bayonet, and (again) gets drawn into an extended firefight. I look forward to his report - and subsequent "wigging".....


Eventually the enemy in the north pull back - but still hover menacingly. 


After a while I will FINALLY start seeing lots of smoke as that force gets down to the destruction of the village and mosque, but shooting from this direction will still be heard throughout most of the battle, indicating that there is still resistance.


In the south my "Blues Brigade" make very good progress. Suddenly an opportunity seems to present itself; while the Emirs are concentrating on my main line the western village appears vulnerable to a swift attack by my cavalry...

The St. Andrew's lances race off - but the enemy Emir sees this, gets the chance to  head them off, and takes it. Suddenly the whole enemy right swings away from my main force and looks as if it is going to charge the St. Andrew's and the Blues. The commander of this brigade pulls back to the slopes of the southern heights and unlimbers. 


Meanwhile the southernmost infantry are ordered to continue in their task to burn the south village, which they will do over the next few moves, and support the "Blues Brigade", while the Emirs spend the next couple of moves thinking, removing Shock and watching and wondering what my main force intends next.....

We are about midway into the game. "Blues Brigade" (Yellow A on the pic below) are cautiously watching the enemy Emir of 
Dara Tebel (Blue Two), who has been making most of the running so far. My Southern infantry (Yellow B) have halted to watch and support the Blues - all well and good, but this doesn't get the village burned.

The Emir of Backai (Blue One), having moved up earlier, seem hesitant to commit. Well and good, say I....

My Main Force as Yellow C hold, watching both Emirs. 

My Northern infantry (Yellow D) will continue to make a right meal of their simple task, the enemy skirmishers (Blue Three) being a nuisance for the rest of the game.


After a while I decide to move my main force up onto the southern plateau.

Once the village there has been destroyed I will form a mobile "square" and march to the final target, reasonably confident that the enemy horde will simply get out of the way, rather than face the cannon and volleys of my army...

I am aware that time is passing. We shall see....  


I get my lads up onto the plateau, the village is set ablaze by a detached company and then, suddenly, the Emir of Backai wakes up - and throws his troops up the slopes and against my line. They charge home, cutting down one of my artillery crews and isolating and slashing into the infantry on the north slope.


I get the chance to reorganise my remaining line (lucky tokens) and rush a unit across to form a rough "Inverted U" while the enemy are swarming up onto the plateau. It is touch and go....


Luckily, my isolated infantry hold, and "do a Gloucesters" - while the rest of my guys and the mitrailleuse shoot "into the brown". The Emir pulls his bodyguard back to reorganise (Shock has been building) but a sudden charge by the Blue Dragoons takes him in the flank. The Emir goes down, and the men around him flee - but not all his chaps see this, and it takes more volley firing to finally disperse the rest of them. 

In the north there is progress.... FINALLY the village is afire.....


My men rest as the Backai horde rapidly withdraw to lick their wounds...   

But not for long.... As the mosque in the north finally gets set afire the Emir of Dara Tebel, whether exasperated by this blasphemy or out of frustration, throws HIS men against the west side of the plateau - but to no avail. 


Three very short moves (basically shooting only) follow. Good for me.

The volleys from my foot, the chatter of the mitrailleuses and the crash of the cannon halt his rush and the enemy charge stalls in confusion.

The Emir himself is wounded, but holds his men in check and they pull back in some semblance of order out of range of my muskets. 


There they wait, shocked, but not broken.....


I assess the situation. Two villages have been burned, but dusk is rapidly approaching. I have a dilemma. I cannot realistically see that I will be able to push my way to the third village without the risk of going against my orders to return to Base Camp before nightfall. Also, withdrawing now may well prompt another enemy cavalry charge....  

Reluctantly I order my men to start edging back - knowing this may well provoke another wild assault...

At first things go well. For the first time in the game the unit sent to deal with the village in the north gets their skates on and clamber over the crags tout suite - but equally speedily followed by the vengeful tribesmen they drove out earlier...


The St. Andrew's Lancers also make good progress, as does my southernmost infantry unit. But the rest of my force is slow to get going - and have to satisfy themselves by throwing shells into the enemy hoard, at a distance, for two moves. 


Finally I get the chance to limber up the artillery. I get my line of remaining infantry to fall back slowly in sections - always keeping some troops facing the enemy....


But this isn't good enough.

After three more VERY short moves (straight to "Tiffin" or just one or two individual units on the move) my command is looking pretty scattered and dusk is almost upon me.

The Emir of Dara Tebel, after having had a couple of moves allowing him to deal with Shock, gets another lucky token, Activates, checks his attitude, is seemingly inspired with rage at the burning buildings - inc. the mosque - and encouraged by my withdrawal (Callwell warned me about this kind of thing.. But did I listen..?) and hurls his warriors at me, thinking he already has me on the run.... 

His horde sweeps forward and makes contact - luckily mainly with my remaining formed infantry. I lose an artillery crew and take casualties among my foot but my line (such as it is) holds firm and inflicts serious casualties on the wing of the enemy, throwing back a large chunk of the Emir's men and causing the others to hesitate.


Next move I get the chance to move my artillery further towards safety, and my line is able to give ground, facing the enemy. Last move - but we only get the chance to loose a volley before it starts to get dark. My time is up...... 


I have failed in my mission. My brief was to destroy the three villages (Fail) AND get my force back before night set in (Double Fail).

Casualties could have been worse, given the circumstances, and I reclaimed the "lost" gun (it was dragged back by infantry) and held onto my wounded.

The successful "seeing off" of the attacks of the Emirs was incidental and earns me no Brownie Points. Their forces, being irregular (mainly light horse, so break, reform, break reform - no problem to them) probably saw this as an experience, rather than a lesson. Their losses could have been worse. They retain their wounded - and their being left in command of the field, with me withdrawing, likely means THEY class this as a victory for them.... 

I foresee a telling-off for Trofimov....


Conclusion:

A fun and exciting game. The random activities of the Emirs kept me guessing right up to the end. The issues of my own detached commanders being slow (!!! I'm looking at you North Force) or hesitant (the Blues, initially) as frustrating as any real-life attempt to get people to work as a team - or do what you've clearly asked of them.

The only thing for further consideration - and I've seen the same criticism of other rules sets where Activation (or similar) is limited by random Command Points, PiPs, Tokens or Cards - is that highly mobile, irregular armies can be suddenly paralysed by ill luck in a way that feels wrong. 

Now, while I recognise (and delight in) the fact that ANY seemingly freakish incident or behaviour due to the quirks of any rule set can always be explained away (and usually historical examples found) by invoking the human element or terrain or other realities of life, I think I need to think/work on this...

Maybe permitted "Tiffin"/Move End activities for certain "swarm" type cavalry previously unactivated that move may be the answer (I already have certain "Move End" allowances built in for my Romans re. Shock Recovery to reflect their period-superior C&C and training)? Needs more thought... Hmmm....

Anyway, this was a jolly excursion into a smaller scale. Next month sees me retiring from paid work so, unless She Who Must Be obeyed sees this as an opportunity to claim me for other duties, I hope to post more regularly and get to grips with some serious campaigning....

As always; thoughts, comments and constructive sniping always welcome... 


Wednesday, 16 September 2020

Teaching Trofimov, or "Turkestan Troubles...".

An Experiment in Little.....

The last few months have been crazy and disjointed; family stuff, paid work has been mad, bugs (not the BIG one) and projects around the house have eaten my time (plus I drifted back into some computer gaming once I'd wrangled the PC back into shape.. Oh dear... THAT has to be knocked on the head.) so that I have got little table-gaming or painting done..

However, I did (finally) finish painting my 6mm Russians, so they have had a one-off outing (on a perhaps slightly familiar table - yes, I've been THAT lazy) recently which I present in two parts; not so much as to show the new toys as to demonstrate (again) how SOME of my battles get fought.......


The Story:  

General Trofimov has been tasked with a "Butcher N' Bolt" mission to punish the naughty folk of the Urgham Valley in "This Ain't Tukestan".

He has four units of infantry and three cavalry units with artillery and mitrailleuse support.   

His job is to burn the three villages, then set off back to base. Local resistance is supposed to be light (the villages have no formal garrisons - even though two have fortified watchtowers) so this should be an in-out job. 

He is "on a timer" though, and must exit/have all his units within 6" of the friendly side of the board before the end of the twentieth move (i.e. before dusk).

Shimples.....

However....

On arrival his scouts inform him that as well as a small force locals mustering on the heights above one of the villages being at scene, the "Hordes" of two local Emirs are hanging about in the valley....

Their intentions are unknown. They could simply be there simply to watch - and to make sure HIS intentions don't extend to going beyond the valley into their domains. They could be there to run interference - though neither of them actually claims this valley as their own. They may just be there on the off-chanced - to act opportunistically if he runs into difficulties.....   

I will "play" Trofimov. 


Running about and Fighting Rules.

Movement/shooting/morale rules are House Rules loosely based on Sharpe Practice 2, but any moving/shooting/morale rules could have been used.

Each Leader has a Command Radius. Friendly Leaders outside "My" command radius will (or won't) comply with written orders which can only be changed by messenger.

SP "Formation" rules will be used, but with a gap of up to four inches permitted between units. 

Activation/Tokens.

Activation is by Token per Leader (Initially tokens for Tofimov and a Leader for each cavalry unit, a Local Tribal Force and the two Emirs are in the Token Mix).

Russian units detached as independent commands will have their own Tokens placed in the mix when they detach.  

Also in the initial mix is the "Tiffin" Token, three Command Tokens for the locals and four for the Russians. 

The Locals.

There is a small unit of local tribal folk on the heights. Each time they are activated they will, before doing anything else, make a test. 

This is a simple 1x6D dice throw, modified by the following;

In hard cover +2

In soft cover +1

For each 2 Shock markers -1

For each friendly unit within 6" +1

Enemy within charge reach and outnumbered, withdrawing or routing +2


The Unknown.

In addition to the above there is an "Unknown" Token in the mix. If this is drawn a 1x6D dice is thrown. On a throw of "6" a Russian unit has come under unexpected fire from cover. I dice for each Russian unit within range of cover (rocks, village, vegetation), the lowest scorer being the one receiving fire (in the case of draws I continue throwing for the drawers until I get a "loser").

A card is then drawn from a standard pack of playing cards. The number on the card indicates the number of hostile "stands of three figures" opening fire. A colour card means artillery fire from one gun.

I then look at the possible sources of fire in range of the target on the table, and dice to see where the fire has come from. This "source of fire" unit is placed, shoots at once, then gets ITS own token added to the token mix.

The Emirs.

The Emirs are an unknown quantity. Each time one of their tokens is drawn the Emir in question tests with a dice throw on the table below. Each Emir has a 1x6D dice-created Starting Morale (unknown to me until their first Activation)

Throw one Red Dice (plus) and one Black Dice (minus). Add the Emir's Starting Morale. Modify as below, and proceed according to the result.

Every withdrawing* enemy unit within 300yds +3 (* this means ANY movement towards the "Enemy Friendly" side of the table - even if voluntary or heading towards and enemy objective) 

Every enemy unit seen routed +4

Every enemy unit seen pushed back in melee +1

Enemy flank turned towards Tester +2

Enemy rear turned towards Tester +3

Tester under fire from artillery or millatreuse throw dice: 1-2 = +2  3-6 = -2 

Each building destroyed in sight throw dice: 1-3 = +2  4-6 = -2 

Each mosque seen destroyed +6

Each smoke plume from burned building seen 1-3 = +2  4-6 = -2 

Outnumbered enemy infantry within charge range +1

Outnumbered enemy cavalry within charge range +2

Have already engaged in successful action +4

Each two shock markers -1


Detached Friendly Units

Each detached friendly unit will be sent of with orders with which they will comply. In theory.. But detached units commanders have minds of their own.


The reality is that Unit Commanders outside "My" command radius will themselves react to circumstances (coming under fire, seeing enemy for the first time, coming across targets of opportunity etc. etc.) and have to make on the spot decisions.

Most of these will be represented by ad hoc decision tables/throws, since I cannot predict all circumstances for all branches of the service or possible conditions. These occasions will be described in the narrative. 

The Table.

Very simple map below. High ground is marked in the yellower/sandy colour. 

Three targets (the villages). IF the Emirs enter the fray the Nomad Encampment offers an extra, optional target 

The crags and rocks are impassable to cavalry and artillery (unless local artillery prompted and placed by Events).

The slopes are impassable to artillery limbers unless moving up a track. 

Crags and rocks and the palm groves class as cover. There are various field boundaries scattered about that also provide cover. 

Russians enter from the lower right board edge. This is also their exit point. 


Next post will be the battle itself.


Wednesday, 8 July 2020

The Day The Regiments Came Pt. 2.

Battle Part 2.

Cue the reinforcements; Lt. Bones and a dozen Hausa police, randomly generated. 


Splitting into two squads the Hausa supported the Forest Folk in their harassing of the enemy left.

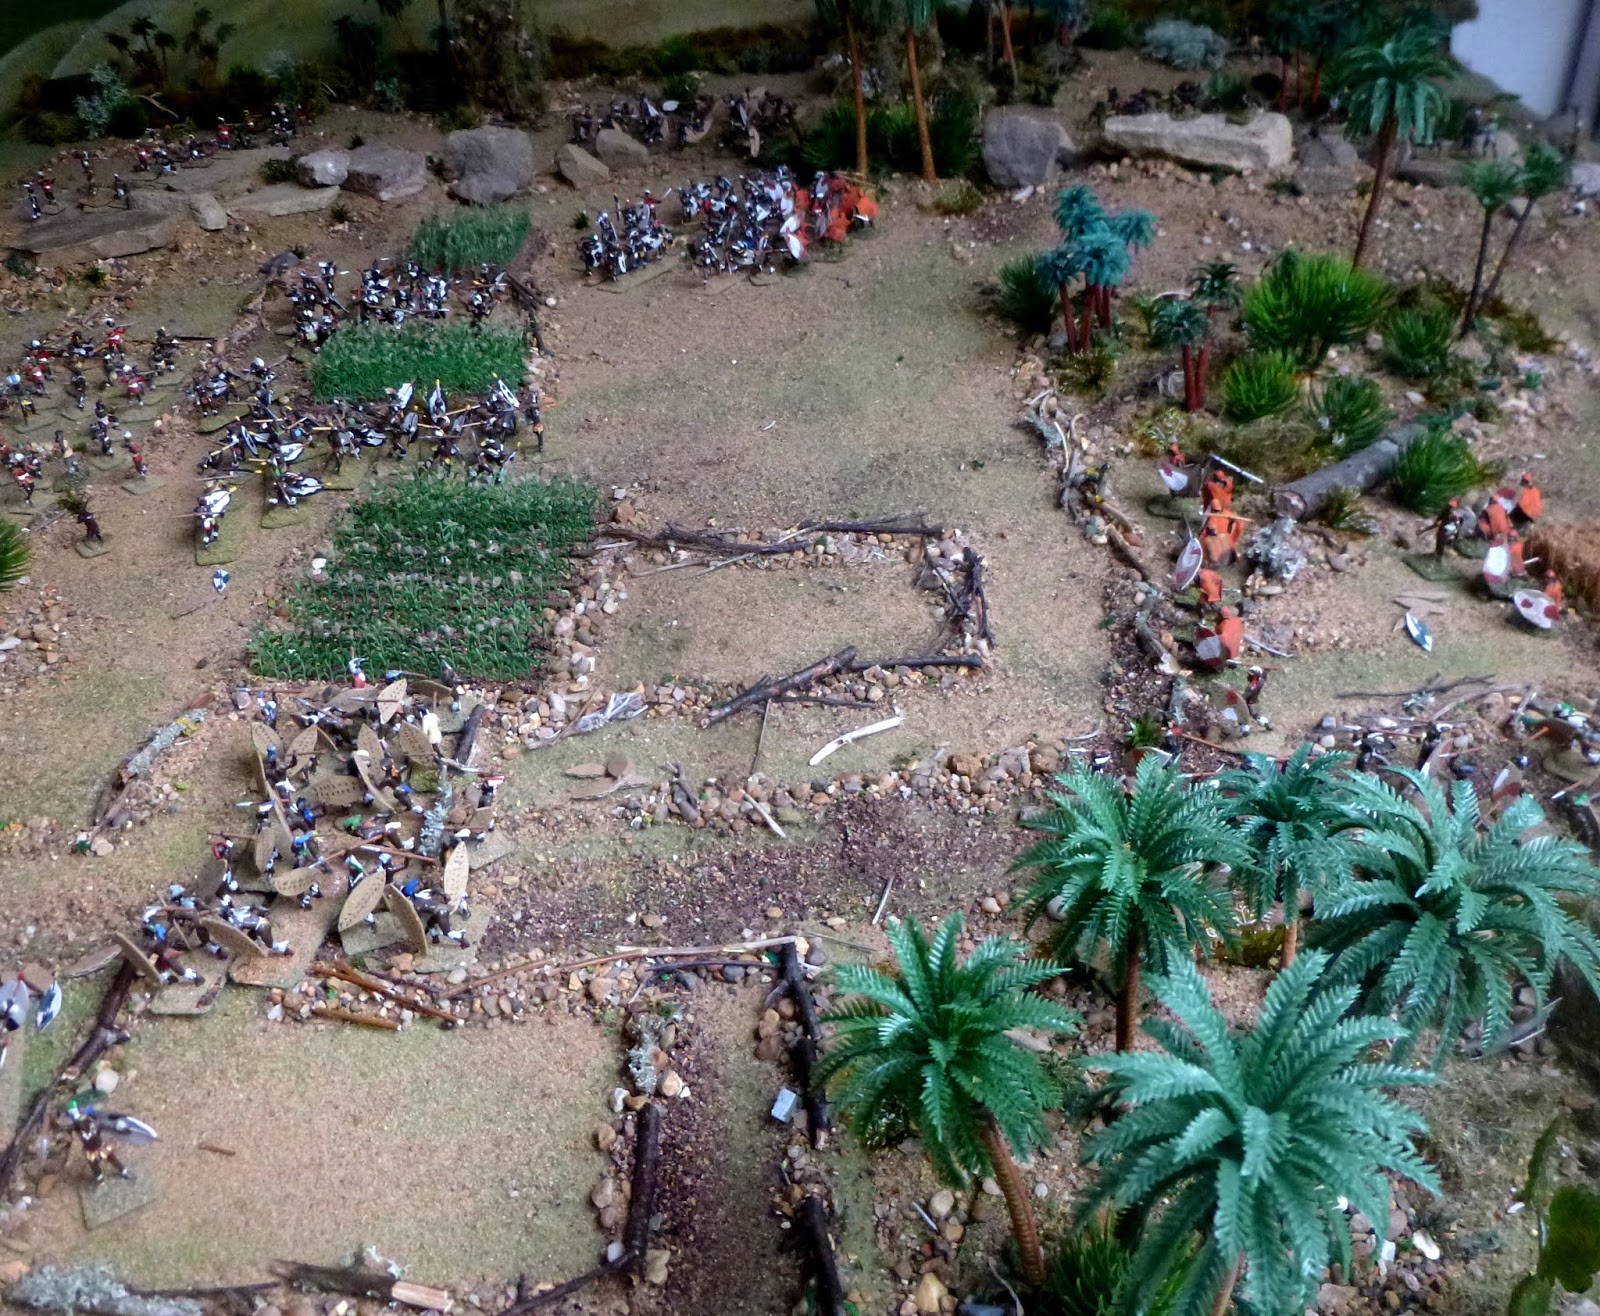
For the next three moves the fire from the Hausa and the arrows, spears and darts of the Forest Folk, plus the small number of Ochori archers, not only halted, but actually caused the withdrawal of two enemy regiments, as well as disrupting a third. Furthermore, as the game went on, the Hausa squad under Sgt.Hassan, on the far Ochori right, boldly pushing forward boded ill for the whole of the King's Army's left flank. Like the Ochori, the Hausa were steadfast and bold (lucky dice) throughout....


In the centre the Kings Army tried to build themselves up for another assault - for by now the Ochori centre, having taken casualties in the savage hand to hand were being peppered 
by the King's rifles (finally - the King's general failed to exploit his firepower - well, the tokens didn't give him the chance until late in the battle - relying instead on the courage and steel of his fighting regiments).

The enemy reserve, the elite "Blue Eagles", activated by the Divisional C.O.moved forward... Despite the success on the right, and their courage in the centre, Things were looking pretty grim for the Ochori...


But over on the Ochori left the dice again proved favourable - two Kings's regiments being repulsed in hand to hand combat, then followed-up by the Ochori auxiliary spears...

One unit pushed the enemy right so far that they became overconfident; racing towards the King's General in a valiant but doomed attempt to cut the head off of this particular snake...

But the "Blue Eagles" turned - and smashed them for their impertinence..


However, the sacrifice of this regiment  bought time for the Orchori centre for, with their fresh reserve distracted, the already bloodied King's Regiments lacked the power to punch home..

The situation, as both sides drew breath was:

The King's Army's left was withdrawing from the steady close-range fire of Sgt. Hassan's Hausa rifles. Although their blue-coated prey were few in number and in easy reach, the accurate and regular shooting, taking down their leaders and tearing through their massed ranks, intimidated the King's leftmost regiment into giving ground...

(For shooting I was using THWHBK "pinning" conventions in combination with SP2 shooting rules and Dux Brit. type close combat system - sans cards )

Lt. Bones and the Ochori archers, along with the forest folk were now harassing the enemy centre left, temporarily deprived of the support of its reserve, causing it to hesitate. Behind the fighting regiments the King's riflemen got off occasional shots but were of little use.

The enemy right, though still disrupted from earlier repulses, was building up for another charge..

But both sides were tired. The Ochori were near breaking point and seriously outnumbered, with only the Hausa, the Forest Folk (who would not stand up to a fight if charged) and one regiment of auxiliaries still fresh. The battle could still swing either way....


The battle moved into its final phase.....

As the King's Army threw forward its centre their rifles came into play properly, cutting down some of  Lt. Bones's squad, but these, supported by the Forest Folk coming down from the rocks, held their ground, firing into the advancing regiments, pinning some and disrupting others. 

Throughout the fight the Ochori were lucky - enemy unit leaders seemed to have short, if glorious, lives in the Great King's army....


In the centre the last Ochori regiments braced themselves as the enemy came in.

There was a fierce tussle and Bosambo's last Ochoris, were cut down, with the chief barely escaping with his life as his warriors fell about him..

But though the Ochoris fell, this was not without seriously damaging their assailants, so that when the last, fresh unit on the field -  the far left Ochori auxiliaries - launched themselves at the already weakened leading enemy regiment, their assault forced it to recoil though its supports - leaving exposed the enemy central rifles.

These, charged in their turn by the still sprightly auxiliaries, failed to recoil successfully, and found their bayonet-less firearms of little use against the buffeting shields and stabbing spears of their assailants...

The rifles also recoiled into the enemy centre, causing more disruption, and the tipping point in Force Morale was reached....


The King's General, seeing his attack stalled and his men recoiling or withdrawing on all sides - and ranging shots from the Hausa now falling among his staff -  decides to call it a day. He gives the order to pull back...

Bosambo's rule seems genuinely to have turned the long-derided Ochori, "The Men who are Women" into true warriors. The King's Regiments will remember this grim fight.....


Conclusion: 
Well, that was a damn close-run thing indeed....

The Ochori got a LOT of lucky dice - and killed a LOT of enemy unit commanders, which basically decided the day, as the King's Army spent a lot of time desperately trying to get itself back into some semblance of order after its early repulses.

The Hausa, though few in number (and fewer by the end - a third of them went down to enemy rifles in the last few moves) did sterling work, as did the little people of the Forest, in holding and disrupting the enemy.

The Ochori auxiliary spears got away with few losses - the unit that broke through the enemy lines, and were broken in their turn, mainly got away - but Bosambo's own Ochori regiment p
aid for their courage, with 80% casualties, wounded and slain; almost all in savage hand to hand battle.

That was a thrilling little fight - and I fully expected the Ochori to lose - but the Forest Gods were smiling on Bosambo - and not the King's General....

Maybe his conversion has angered them...


The Day The Regiments Came...

Protecting the Boundaries:

A quick "Not Sanders of The River" battle.
A hard fought battle between the army of The Great King and the Ochori: basically this was a "Blocking" action by the Ochori, with their allies, and a little (randomised) help from the British, to prevent the Great King's regiments penetrating  - and raiding - the District....


Simple set-up. The Great King's regiments entering from the west, met by a scratch force of Ochori warriors, allied levies and Forest Folk under the Ochori chief Bosambo.  The Ochori have to try to prevent 6 enemy units exiting the east of the table


Simple House Rules for movement, morale and combat. Activation of Leaders is by token draw.

Each Unit commander/Allied leader gets a token in the mix. Each general gets a token. In the case of the Great King's Army, since the general is on a high point and his army is a reasonably disciplined one, his token can "order" all units within view of him/a unit in view of him to advance as one. The Kings Army also get a Divisional Commander with his own token


Other tokens include SP2 command tokens and a token for possible reinforcements for the Ochori.


In the latter case, after Move One I throw a  1x6D dice at the end of each move. On the throw of a "6" the "reinforcement token" is added to the mix. On the next drawing of this token reinforcements arrive at the board edge at a zone covered by one of the yellow numbers on the sketch map (this location being diced for).


Reinforcements (test with 2x6D) for this scenario may be :


2 or 12: Commissioner Sanders, Captain Hamilton and 12 no. + 4x6D Hausa
police. On a throw of a 6 that group of six police will include a maxim gun.


3, 4, 10 or 11:  Captain Hamilton and 10no. + 4x6D Hausa police. On a throw of a 6 that group of six police will include a maxim gun.


5,6, 8 or 9: Lt. Bones and 4x6D Hausa. On a throw of a 6 that group of six police will include a maxim gun.


7: A regiment of 30 Lesser Ochori Auxiliaries.


I will play the Ochori. Units will obey my orders once activated EXCEPT that the Forest Folk will not voluntarily engage in close combat.


The King's Army has simple orders. Once activated a unit leader will race his unit towards the eastern board edge. If there is a decision needed as to whether to avoid bad going or an enemy unit this will be decided by dice throw.


The King's General's Divisional Commander is in charge of the Reserve (the elite "Blue Eagle" regiment). His main job is to keep this unit in check in case of problems. His decisions are dice-driven, based on ad hoc decision tables based on the situation at the time he is called upon to intervene. 


The Battle: Part 1.


Practically from the get-go the Kings's fighting regiments swept past their rifles and thundered across the field at full speed. Only the reserve held back.


In the centre and on the Right Bosambo boldly threw regiments of his Ochori forward to disrupt the enemy attack, and there was a stiff fight. Throughout the battle the Ochori acted with great courage bordering on recklessness - and though the dice were seriously with them, suffered accordingly.....


By about Move four the enemy centre and right were being held, but at a severe cost to the defenders. Their left advanced, but then the reinforcements were triggered AND the token drawn for Next Move...

There were few decisions needed by individual units of the great King's forces, apart from avoiding obstacles; move at highest speed towards objectives until Shock/disruption meant any attack would be hazardous, in which case regroup, then try again... Which they did....


Continued in Part 2

A Little 6mm Ancient Action..

Somewhere in Anatolia. . The army of Antiochus Elehohkhromahtistis has approached the free city of Erimoupolis with intent to subdue. The go...