The Empire Snaps Back....
Recap:
After their reverse the British rest up for a day, plan and count the cost of the battle.
The butcher's bill from the last encounter was bad from the British point of view. None of the men caught outside the wagon perimeter, overrun (or left when the companies on Black Cow Kopje were pushed back) survived.
Some eighty men, including six officers and four sergeants, were lost by the Regulars; the bulk from Shoreham and Fairbrother's companies. The British have about 18 wounded, six of whom are fit for basic duties.
The Auxiliary foot lost twelve men dead and about the same number wounded (but these only lightly; those more badly injured and unable to make off were "dealt with" by the enemy).
Casualties among the Great King's men were judged to be around the three hundred mark. With almost all wounds coming from the rifles most of these may regarded as hors de combat for the next day. These are SERIOUS losses for an army used to slapping their neighbours at little cost to themselves.
[My usual "post-battle accounting system" was used here; see my "A Word About Casualties" post]
However, it is known that the Great King's army has a tradition of Shigaba Tha Cickewa ("Constant Replenishment") of it's Immortal Regiments. Veteran soldiers ("Lions of the Loins") lost are replaced by warriors from experienced "sister regiments" ("The Bull's Head" Fahwini) of the same Hansi who have proved themselves in battle. Such "promoted" troops are then replaced by drafts from the youngest sister regiments ("The Horns and Wings"), who in turn have their numbers made up by the older and bolder herd boys, hunters, scouts and snuff boys who accompany the army.
The British will still have a fight on their hands if they come again.
British Plans:
It is decided that, after a day's rest, the Column will advance - this time in hollow square - to complete the mission. It is unclear if the Great King's regiments are still in the vicinity. If the enemy are present they can perhaps be drawn into fighting to their disadvantage.

The Great King's Plans:
Who knows.....?
Technical:
I felt that the game perhaps developed too quickly last time (in game terms, rather than realistically), to the disadvantage of the Great King. I'm therefore using a 1x12D for the Scouting and Off-Table Tests with a 12 prompting a reaction this time to see how that works.
Like the last game there will likely be a LOT of ad hoc Decision Tests by detached British units and the local forces. When such a test is deemed necessary/appropriate/has taken place I will note this in the narrative (unless otherwise mentioned in the text itself) with the following [DT] annotation.
Reaction Tests called for my morale rules will be mentioned in the text, but not highlighted since they are not "Solo Play" procedures.

The Game:
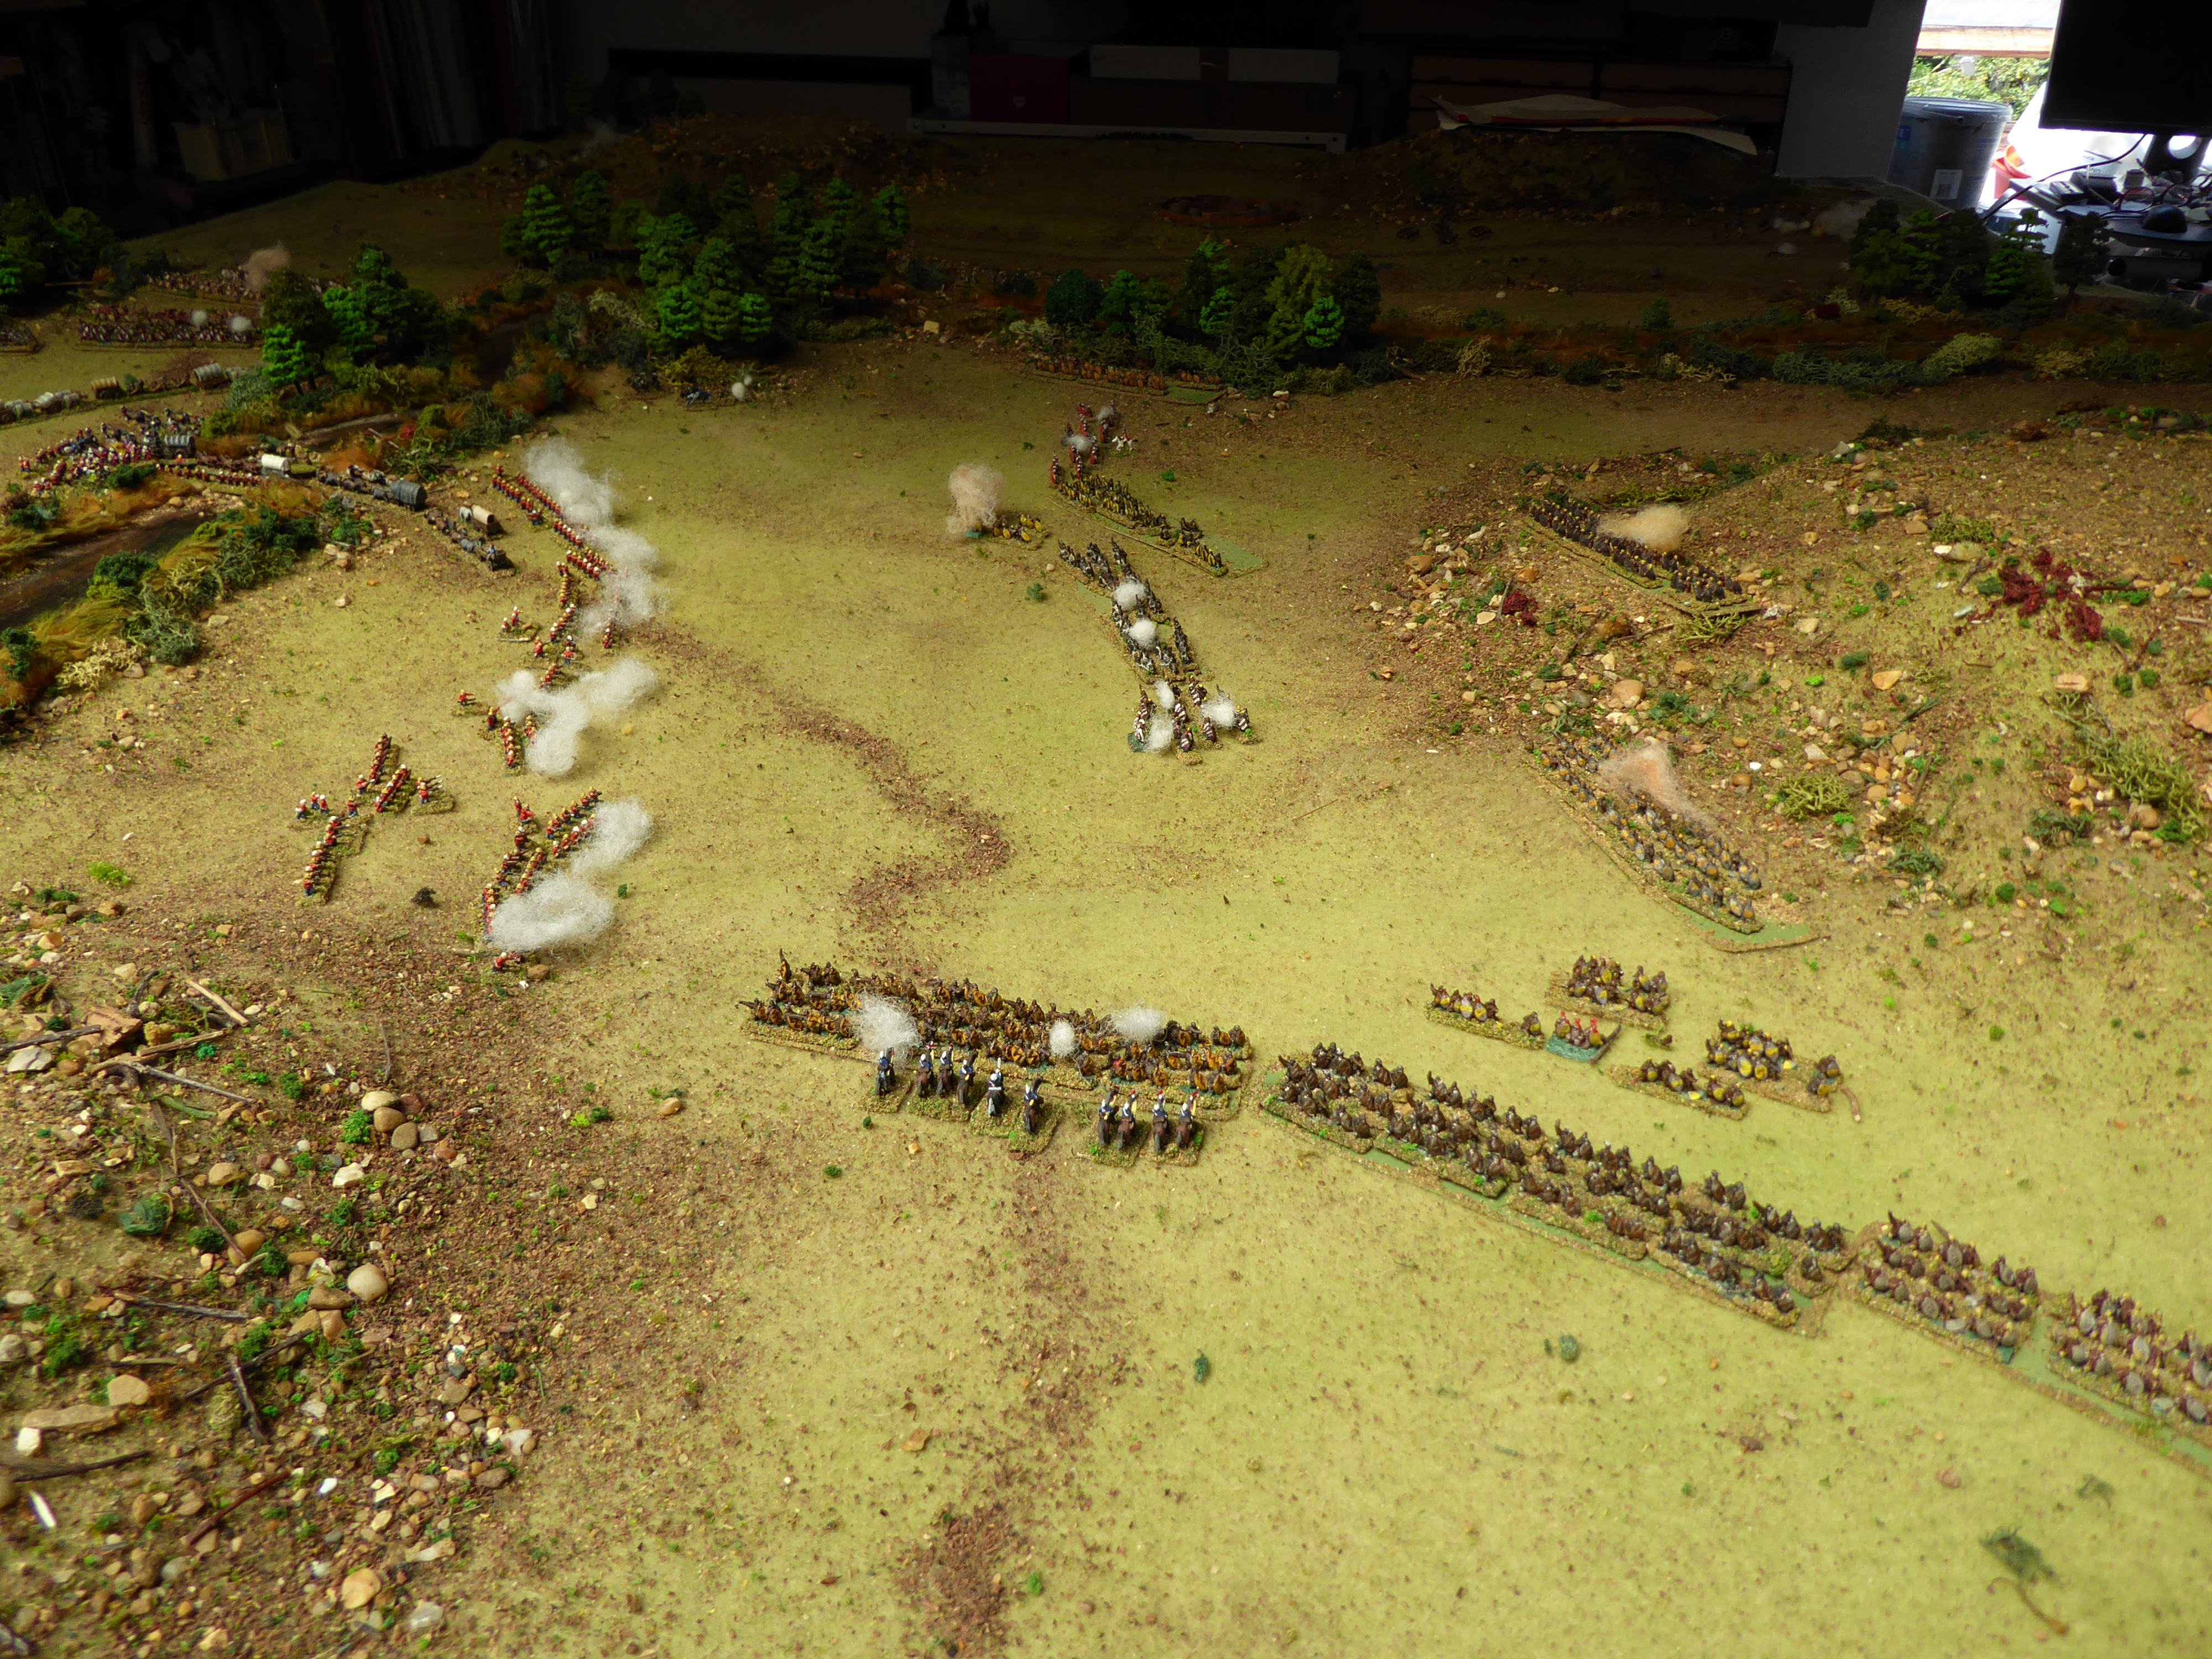
The British move off, in hollow square this time, with Dunsfold's horse screening and scouting..
Three moves into the game a detachment senses something suspicious in the woodland by the river, west of Black Cow Kopje and withdraw up the hill to observe [DT]. The scouts do not at this time alert the Column [DT] as they are uncertain.

Next move the noises and movement reveal themselves as.......
Some foraging goats...
The scouts move back down the hill [DT] and investigate the woods properly, before heading for the main drift.

By now detachments of Dunsfold's Scouts have checked and established pickets on Black Bull and Black Calf Kopjes (to observe for any off-table movement from the east). Another detachment has crossed the Trail Drift and starts checking the patches of woodland beyond. [All DT-led]
Dunsfold's detachment and another section begin to scout out the riverside woods near the small drift. [DT]

Next move proceeds without event. Then, as the lead elements of the actual wagon column reach and cross the Trail Drift one of the scout units sees something suspicious in one of the east bank river woodland patches. They stay in place to watch developments [DT].
At the same time a cloud of dust can be seen entering the field from the southern west side. There is nothing specific to be alarmed about yet, but the column will be at it's most vulnerable while crossing the Drift, so it is good to be cautious.
On the next turn the two leading infantry companies and the British Commander himself cross the Drift.

The picket on Black Calf can see dust clouds (off table) to the east but the other seen dust clouds do not move. The scouts on the west side of the river check the woodland patches.
As the slow-moving convoy begins to cross the Drift the British redeploy to screen against the possible dust cloud threats. Again there is no movement from the dust clouds.
Meanwhile I realise that not only is the convoy is getting spread out at the drift (and that there is a snarl-up of wagons, troops and scouts on the east side of the river) but that there are now too many companies stranded on that side if an attack comes from the west.
The cavalry (lancers) here seem to have got bored - or maybe they want to move to support the scouts at the woodland (who knows?) and have moved further north than I would have liked. [Lancer commander DT]

I deploy the two companies I have on the west bank to meet any threat, but am nervous - despite the nearby, western woodland patches having been scouted and declared safe (there are still the table edges - and no high ground nearby to see off-table). The scouts here push ahead.
The scouts by the woodland dust cloud have a decision to make; enter and investigate the woods - and risk being attacked at close range or watch and wait.
They decide [DT] to enter the woods and discover.....
Catastrophe !! (??)
[A card draw; Red King - thirteen regiments]

Just to make matters worse; the scouts on the west side of the river have seen something suspicious in the donga fronting them and the dust cloud in the south east (still concealed from clear view by a rise in the ground) moves towards my troops at the west side of the Drift.
In the next British move the Lancers turn and gallop back to the main line of redcoats and dismount, pulling out their carbines . Dunsfold dismounts his group by the wood and does the same [All DTs].


Luckily the British convoy guards on the north flank are already deployed for action, and the hesitation by the suddenly visible enemy is a godsend. It's longish range, but the British open fire on the mass of enemy facing them. The various company commanders make sudden decisions [No central command here - so ad hoc reactions all round] but a reasonable, if ragged, perimeter forms.
In their next move the Great King's Fahwini rush towards the British lines in a mass - but their leading unit is slowed by having to get rid of the confusion sown by the initial British volley. Thus they do not reach the British line - leaving themselves open to volley fire at close range next move.
On the west bank a swarm of Great King's regiments emerge from the donga, panicking the scouts there, who flee to join their fellows near the drift woodland, and sweep towards the British column head[DT].

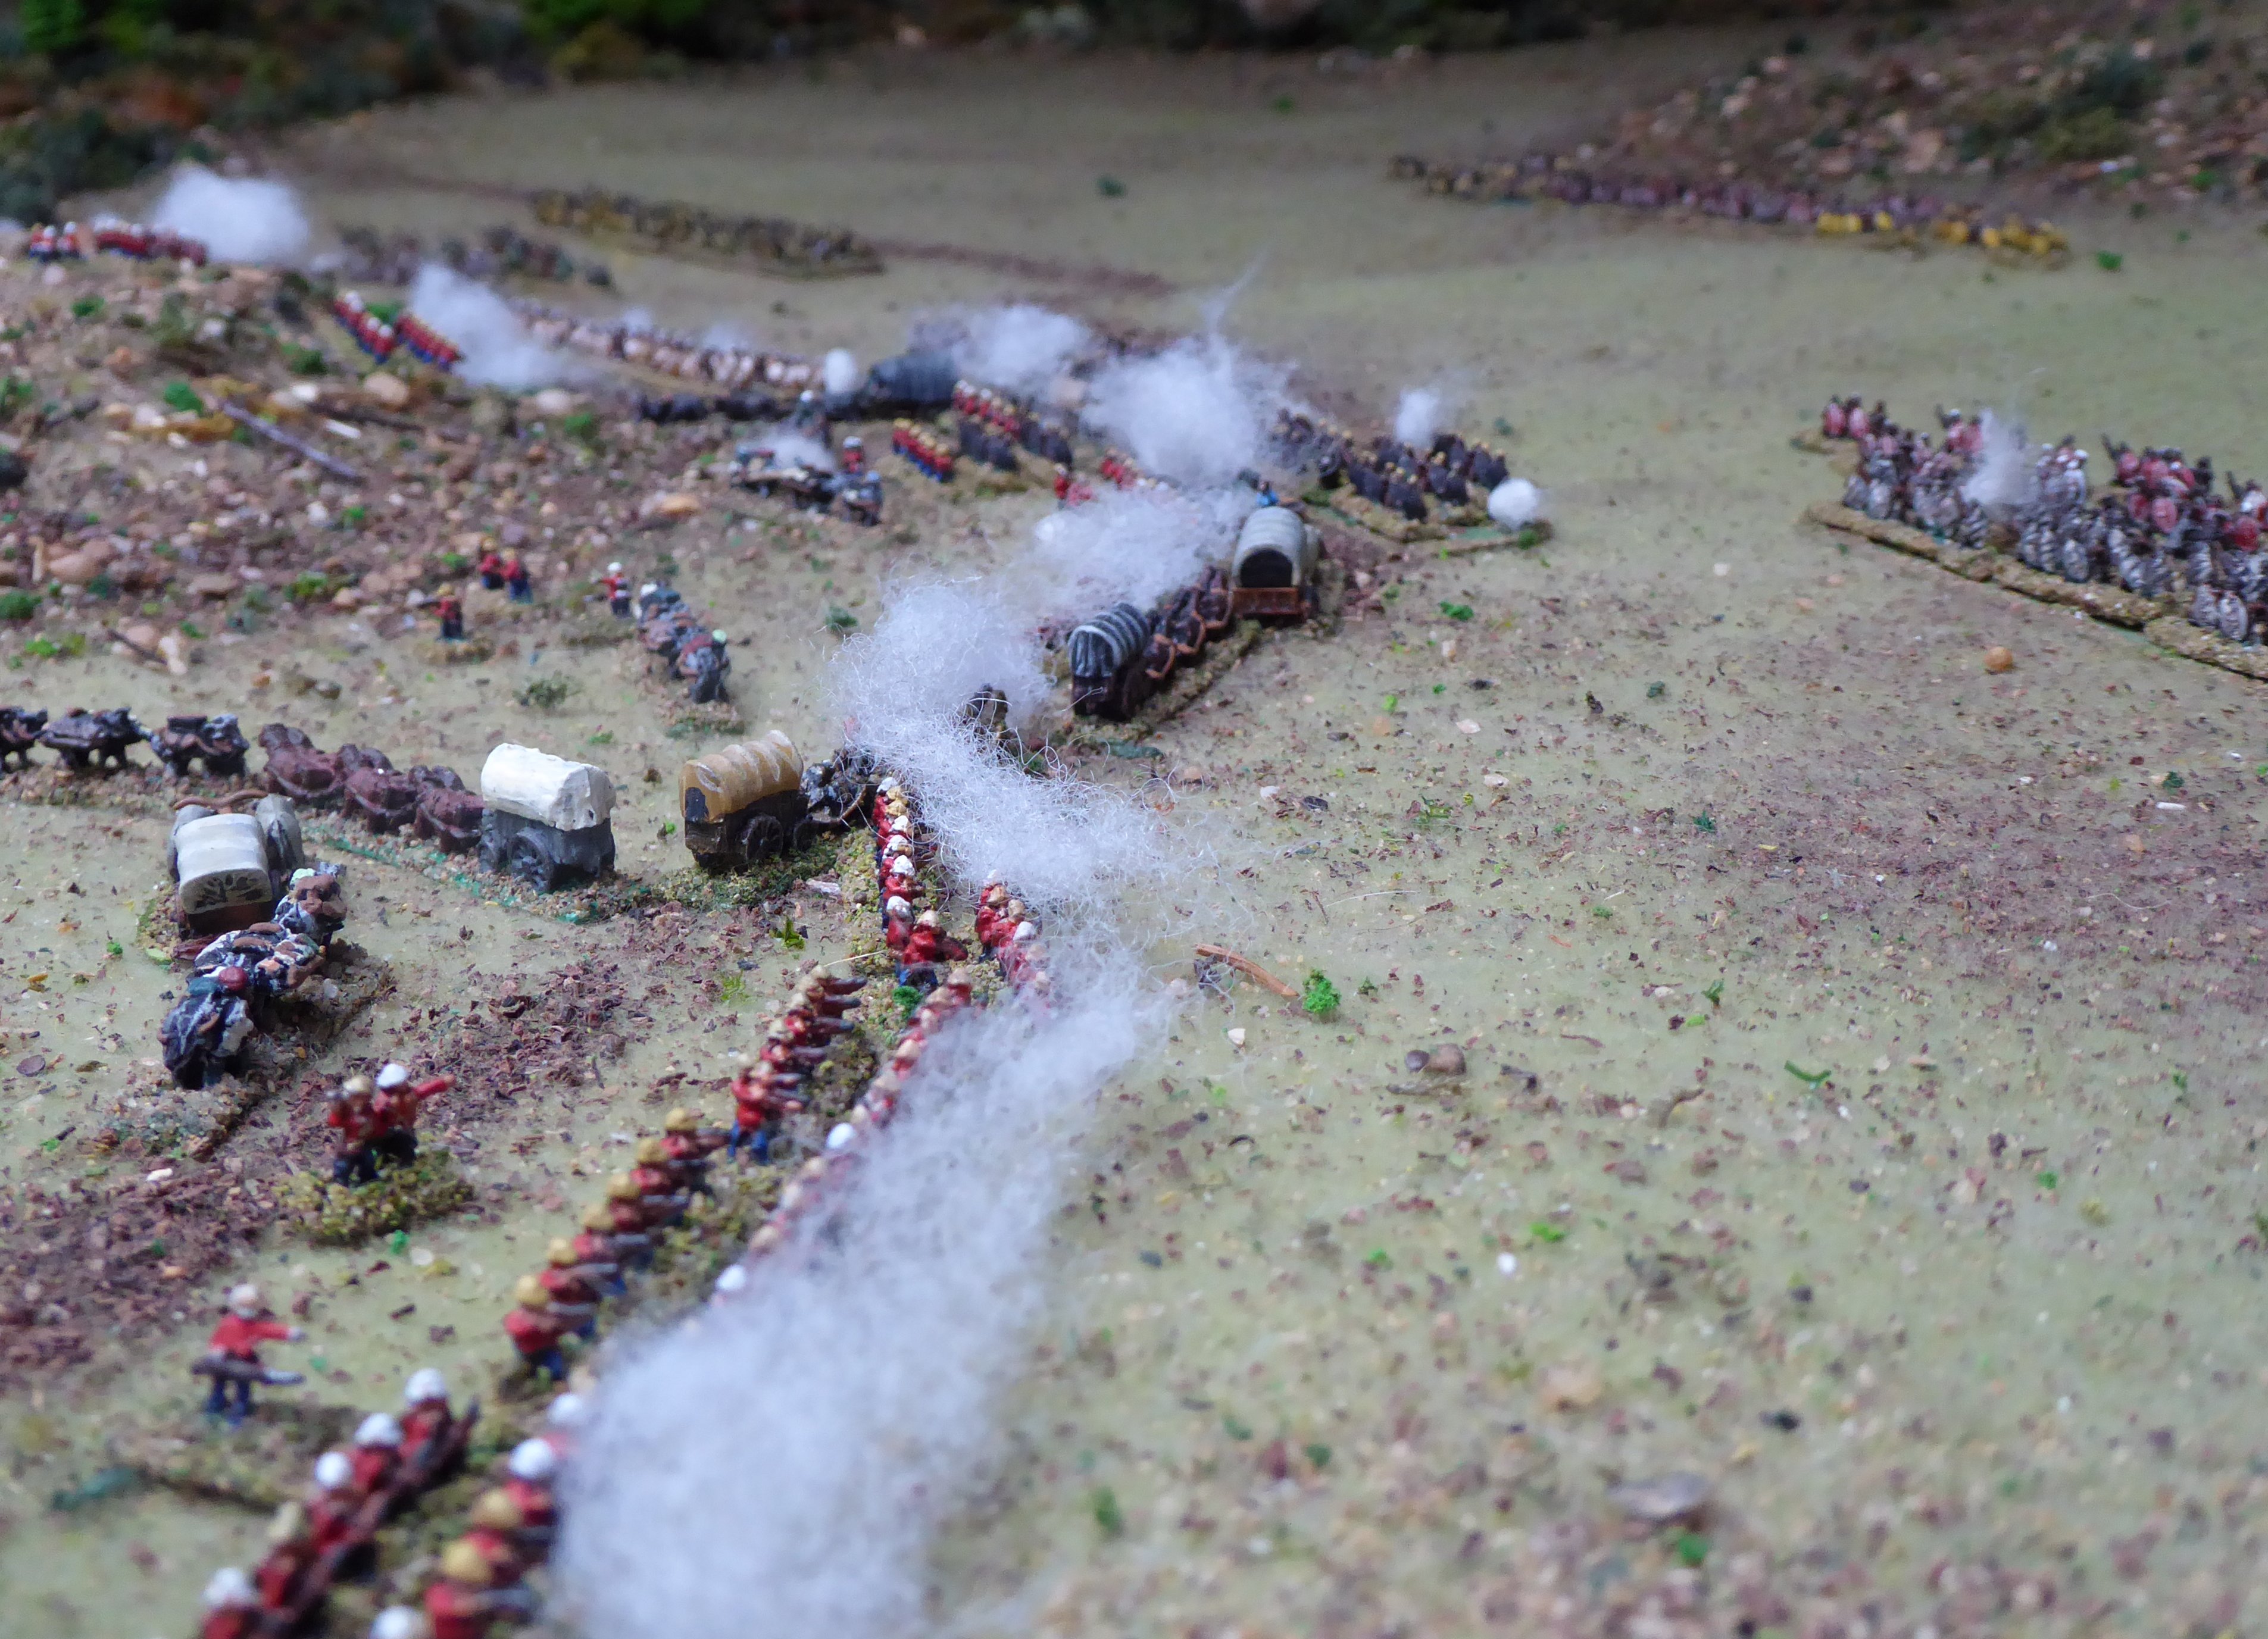
The Gatling Gun is unlimbered [DT] and the wagons that have crossed the river are hastily lined up to provide some basic cover.

Meanwhile the eastern dust clouds move towards the kopjes.

But next British move the volleys crash out again. Dunsfold and a few of his scouts hold their position at the edge of the river elbow woods and fire into the enemy flank [DT]. The rightmost regiment of the Great King's army, taking casualties from front and side, breaks, a neighbouring unit pulls back in shock - and the regiment that had charged home on the British line is battered by close range fire and likely to reel back soon. The enemy bodies are taking punishment from the rifle fire.
However, the scouts over on the eastern kopjes panic as the Fahwini there sweep across the slopes. The riders rush to the rear; in turn alarming the Lancers, who also withdraw. [All DTs] The British right is looking badly exposed, and I have a bad feeling about this.


The next move is vital. On the west side of the drift the Gatling Gun is overrun and the crew killed. While the Great King's men at the wagons cause casualties among the British they in turn are forced back by bayonet and rifle fire. The next British move causes more casualties and disruption among the Fahwini, some fall back, but it feels like it's only moments until the British here will be overwhelmed.

On the east side of the river the British line takes casualties from hand to hand fighting and recoils. The native auxiliaries, hit in the flank, break; but the close range rifle fire also breaks a couple of the Great King's regiments. The fighting here seems more even.
However....
Screened by the units fighting the redcoats, four fresh enemy regiments are now swinging past the right flank of the British. The scouts in front of them panic and the Lancers hesitate[DT] . It looks like these hostile units may well pivot round towards Black Cow Kopje - cutting off the British retreat.
Meanwhile the dust clouds generally move forwards [DT]- with the one south west of the drift proving to be potentially another six regiments !! This actually brings out only four - the remaining elements of the Great King's army. All of his regiments are now deployed.

This looks like endgame for the British on the west bank. Next move the British here have had enough, and they start pulling back across the drift - jostling with the panicking wagoneers [DT].
On the east side the British consolidate their line as the bulk of the enemy hesitate. Another volley further discomforts the Fahwini in the centre, then the Lancers finally act, and charge the faltering Snake Regiment on the enemy left centre, breaking them.

The next move the Kings' men hover threateningly on the west bank, but do not close - nursing their wounds and reorganising [DT]. This gives the British breathing space enough to form line so as to control the river crossing.

On the east bank the regiments also try to reorganise and rally. It is difficult to tell, but it looks as if the British volleys have taken the fight out of some of the regiments.
On the other hand the British are in a pickle. The wagon train is in confusion and about a quarter has been lost. Almost all of the native auxiliaries are now fleeing the field. The British line of retreat is threatened, with some companies having been nastily mauled.

It looks like a draw is on the cards; the British being unable to fulfil their mission, the Great King's army unable or unwilling to charge into the face of the volleys again and finish the job.
However, as the British try to move their remaining wagons back, off trail, one breaks a wheel (the remaining ammunition wagon) and an ox goes lame on one of the other wagons. Not good.
The cavalry charge has panicked the enemy centre on the east bank, giving a breathing space, but the volleys from the line companies cause minimal disruption.
Dunsfold's exposed troopers by the elbow woods pull back to the main column [DT].
On the west bank the Great King's men surge across the drift [DT], catching some wagons marooned there, but the warriors will still be wading across during the British turn, so are likely to be met with gunfire before they can close.
On the east bank the Great King's right wing holds, the centre breaks as the panic from the cavalry charge spreads, but the left wing of his force pushes south - still threatening to envelope the British line.

Next move the British companies guarding the drift open rapid volley fire at close range at the enemy crossing the ford; tearing the leading Fahwi apart and breaking it. This unit rushes back though the supporting regiments, sowing disruption. The drift is holding.

Any enemy advance on the east bank has likewise been stalled by volleys. A British company races to occupy Black Cow Kopje to prevent the enemy left wing from taking it. Dunsfold is sent in support. The reminder of the wagon train pushes slowly south.
Meanwhile, on the east bank the Great King's centre, having taken enough from the British volleys, pulls back to Black Bull Kopje. The King's general has lost heart and he pulls back the right wing[DT] . Likewise the enemy left wing commander[DT] whose men have been unsettled by the breaking regiments and the presence of the cavalry. The fight seems to have gone out of the Great King's regiments on the east bank, with the volleys and cavalry having taken their toll.
But suddenly disaster for the British; a mass attack across the drift by the Great King's men [DT] leads to a vicious melee, and the British companies there are pushed back with severe losses. This could be a game changer - or the last throw of the dice for the Great King's warriors.
It is the British turn - and this will be key.
They fall back and regroup successfully - leaving (sacrificing?) the companies at the drift to try to stem the flow of enemy here. These companies slow the enemy advance (next enemy move), but suffer badly and are broken by the action.
This is enough, perhaps, for the British main force. The sacrifice at the drift has bought time, so in the next British turn almost two full companies can pound the leading elements of the west bank Great King's force with close range rapid volleys. This they do, breaking the lead Fahwi, which in turn runs though its supports, breaking these in turn.

The British force now has a good front, with it's left protected by the river, and a right made up of the companies occupying the crest of Black Cow Kopje. Both front and side of the British position have clear lines of fire before them of between 400 and 800 yards; plenty of room to blunt a charge.

This seems to be it. The Great King's general has ordered his troops of his right wing to hold, and not pursue as the British seem to be pulling back [DT]. Those regiments which have just crossed the drift halt, in accordance with his signals.
The remainder of his army (elements still on or those from the west bank broken after crossing the drift and his centre) are recovering their order or are still in flight. His left is wavering, but currently steady, having pulled back to long range.
The Brits pull back unmolested. Endgame...
Result and Butcher's Bill:
So far as the Great King's men are concerned they have again driven back the supposedly invincible Red Soldiers. For them it is a victory.
But at a cost. Today's losses to the Great King are 192 dead on the field and 168 seriously wounded, plus about 160 other wounded. Coupled with losses from the previous battle this is serious; about five Fahwini of experienced troops.
The British lost about seventy Line Company men dead today (including eight officers), mainly on the west bank, at the drift and when the enemy's centre caught a company in the flank. They have about eighteen seriously wounded (as before, any wounded men overrun by the enemy were swiftly despatched) and about 30 other wounded. The column also lost twenty four native auxiliaries dead and about twelve walking wounded.
Fourteen wagoneers/drivers and the Gatling Gun crew were lost. ALL of the regimental ammunition wagons were lost.
On this expedition the British have lost the equivalent of two companies of Line Troops and about half their native foot. They have lost to the enemy most of their wagons, plus about two hundred rifles and masses of ammunition. Not good at ALL....

Summary:
Another exciting and unpredictable little game.
The reduction in the likelihood of a PAP activating was a good move, and certainly worked in the Great King's favour. The "ambush" nearly came off - again the Brits were only saved by the devastating power of their close-range rifle volleys.
The chaos at the drift was nearly enough to tip the balance in the Great King's favour, but not quite.
Could a more forceful approach by the Great King's general once the British had been pushed back across the river have led to greater British losses? Perhaps. Had his left wing not already shown signs of wavering, and had they been pushed south of Black Cow Kopje to cut off the British retreat I would have said possibly "yes".
But on balance, with much of his army already having broken once, a proportion showing clear unease (having taken severe, and in the Great King's army's terms, extraordinarily high, casualties) I don't think he was wrong to call it a day - especially as he had already seen the effect the volleys and the British cavalry had had on his men. He would also have been unaware that the British troops had been left with only the ammunition they carried with them.
Politically too, wiping the column out - complete with a "Famous Last Stand" to exercise the British breakfast table - would guarantee the British coming back mob-handed and bent on revenge.
Both sides have learned a lesson. Perhaps (via the good offices of Commissioner Sanders - and some firm telegrams from the neighbouring French and German Protectorates) some accommodation can be reached between The Great King and "The Old Woman Across The Water". We shall see......
As always, queries and comments welcome.